
Conquering génoise
I've waited for a long time to write about the génoise cake (海綿蛋糕). It's one of the most basic cakes, yet possibly the most difficult to make. It's the go-to cake in European cake-making and is often used as the building block for layer cakes. The main difficulties in making a génoise are the whipping of the eggs to its optimal (but not maximum) volume, and how not to deflate the batter when you fold in the flour and the fat. Even the most experienced bakers can fail a génoise. There're just too many variables involved, and each deviation would make a noticeable difference in the end. If my memory serves me right it was the very first cake I attempted - why a génoise, of all cakes?

Here are some observations that I've learnt the hard way:
Whipping the eggs
- It's an optional step, but warming the eggs over a pan of simmering water prior to whisking promotes a greater volume in the end result. Even if you don't want to bother with this step, make sure that your eggs are at room temperature at least. I confess that when I use a hand-held electric whisk, I actually microwave the eggs in 5-second bursts until it's warm... In fact, back in the old days when they used to whisk the eggs by hand, French pastry chefs would whisk up a génoise over a bain-marie all the way through.
- You should whisk the egg foam until it's thick and fluffy with a texture like softly whipped cream but not quite as stiff as a pâte à bombe. It's a tricky act of balancing here: if you underwhip it, you'll not have enough air bubbles and the cake would be dense. If you overwhip it you'd have a harder time folding in the flour and fat and consequently the batter would deflate more, and you'll end up with a dense cake too. Optimum, not maximum, is the key here.
- Here is a technique that I picked up from Asian recipes: towards the last few minutes of the whipping process, decrease the speed to very low so that the bubbles become finer. If you whipped on high speed from beginning to end, you'd notice that some of the air bubbles are pretty big, and the texture of the cake would be coarser. This technique works very well with hand-held whisks, but not as well with stand mixers since the beater doesn't reach the sides...
Folding in the flour and the fat
- Most recipes have you fold in the flour with a spatula, and Rose Levy Beranbaum recommends using a slotted skimmer (which was disastrous in my experience - the flour collected in the holes). I've found that the best utensil to use is a wire whisk. It folds in the flour most quickly and thoroughly and the flour doesn't clump as it would with a spatula.
- A common problem with génoise is that there're flour pockets at the bottom of the cake after baking - possibly because one is fearful of the batter deflating and therefore under-incorporated the flour. Shirley Corriher suggests sifting very little flour onto the foam, fold it in, and repeat the process until you're done. I found that this fiddles with the fragile egg foam too much and in my experience the batter deflates more as a result. Better to fold in the flour in a few additions.
- The greatest pitfall in making a génoise is how to minimise the deflation when you add the fat. By its very nature the addition of fat makes the egg foam less stable. One technique is to add some of the whipped egg foam to the fat to form an emulsion before mixing it back to the egg foam. This is a valuable technique - but then should one add the egg foam before or after adding the flour? I've found that egg foam that has some flour added to it emulsifies with the fat better than a flourless egg foam. I personally mix the egg foam with the fat when I've added about a third of the flour to the egg foam.
- Forsake the whisk and switch to the spatula when you fold the fat emulsion into the egg foam, and make sure that you reach the bottom of the bowl.
- Some bakers prefer doing without adding fat altogether: Nick Malgieri, for instance, adds extra yolks instead of adding additional fat. This improves flavour and stability of the egg foam but limits the volume it can attain. Some, like Flo Braker, uses whipped cream instead of melted butter or vegetable fat. Rose Levy Beranbaum advocates using browned butter which undoubtedly adds a subtle nuttiness to the cake. According to one cookbook, when you make génoise with cocoa, it's imperative that you use clarified or browned butter, or the cake will risk sinking at the bottom.
- If you live in Asia, there's this thing called SP cake emulsifier that you can employ in your génoise. What it does is that it helps the water and fat maintain their emulsion so that when you add fat to the egg foam it would not deflate as much. Those of you who have baked a lot of génoises might recall the nightmare when you make a cocoa-flavoured génoise - cocoa fat deflates egg foam like nothing else. This is when you'd be grateful for SP. If you have access to SP cake emulsifier, you'll be rewarded with a much lighter, fluffier génoise. In fact, the famous Taiwanese honey cake is basically an SP-laden honey-flavoured castella cake, which is a form of génoise.

Storing the cake
- Some Asian recipes suggest that you store the cake in a tight container while it's still warm so that you trap some of the steam inside the cake, and the cake will end up moister. I personally don't like the wet texture one gets with this procedure, but you should try it if you really like your cakes moist.
- Some recipes, like Rosenbaum's, asks you to remove and invert the génoise right after it comes out of the oven. I found this to be unnecessary - there's no reason why you can't leave the cake to cool in the pan before removing.
Miscellaneous
- You can replace as much as half of the flour with cornflour. It tightens the crumb and holds moisture better than using only flour.
- I've tried using duck eggs to make génoise and the result was amazing! When making a plain génoise, try to use the best eggs that you can find.

I've tried countless cocoa génoises and I came to conclude that Rose Levy Beranbaum's version is the best. The main difference between hers and other versions is that she dissolves the cocoa in boiling water first which releases the flavour of the cocoa. It also means an easier job incorporating the cocoa into the egg foam - no matter how religiously and how many times you sifted your cocoa with the flour, it'll always have a hard time blending into the egg foam, and your batter will start deflating before you know it!
I did alter Beranbaum's recipe somewhat:
- I use vegetable oil instead of browned butter. I found that the extra flavour gained from using browned butter is lost in a cocoa génoise. Using vegetable oil instead makes the cake slightly moister without a noticeable difference in flavour.
- I incorporate the oil into the cocoa-water mixture before incorporating the egg foam rather than adding the oil to the egg foam at the very end of the folding process (as Beranbaum suggests).
- I added salt and used less sugar.
- I found that one needs 40 minutes to fully bake this cake as opposed to the 30-35 minutes that Beranbaum suggests.

This doesn't mean that you have to eat your génoise plain: below is my attempt to transform a cocoa génoise to a chocolate layer cake. I used a tea-infused whipped cream filling and a milk-based ganache to keep things light. I won't lie: it does take a lot of time and patience, but the result is well worth the effort. You can of course skip the frosting altogether and just have the whipped cream filling, or simply enjoy the cocoa génoise on its own.
Cocoa génoise
 (adapted from Rose Levy Beranbaum's génoise au chocolat)
5 large eggs
70g (1/2 cup minus 2 tbsp) sugar
1/4 tsp salt
15g SP cake emulsifier (optional)
30g cocoa powder (1/4 cup plus 1 tbsp), preferably non-alkalised
60g (1/4 cup) boiling water
35ml (2 tbsp plus 1 tsp) vegetable oil
80g ( 3/4 cup) sifted plain or cake flour (sifted before measuring if using cup measurement)
Set a rack in the middle of the oven and preheat to 180C/350F.
Line the bottom of a 9-inch sprinform cake tin with parchment paper and grease the sides.
1. In a medium-sized bowl whisk together the cocoa and boiling water until the cocoa is completely dissolved. Stir in the oil and whisk again until smooth.


2. In a large mixing bowl set over a pan of simmering water, heat the eggs, sugar, salt and SP cake emulsifier (if using) until warm, stirring with a clean whisk constantly to prevent curdling.
3. If you're using a Kitchen Aid, use the whisk beater and beat the mixture on medium-high speed for about 6-7 minutes until thick and fluffy and triple in volume. Reduce the mixing speed towards the end to 'tighten' the air bubbles. When done, the batter should look like softly whipped cream, but don't overbeat it and make it too stiff. If you are using a hand beater, it will take at least 10 minutes.

4. Now sift a third of the flour over the egg foam. Use a wire whisk to blend in the flour gently but swiftly, using circular motions.


5. When all the flour has disappeared into the egg foam, scoop up about a quarter of the egg mixture and add it to the cocoa mixture in the other bowl. Use a spatula to mix the two mixtures together until homogeneous.


6. Repeat step 4 twice more, sifting a third of the flour over the egg foam each time and fold in using a wire whisk.

7. Time to fold the lightened cocoa mixture into the egg foam. Tap your whisk against the side of the large mixing bowl energetically so that you don't waste the batter hanging on the whisk. Switching to your spatula, fold in the cocoa mixture in a few additions. Make sure you reach the bottom of the mixing bowl.


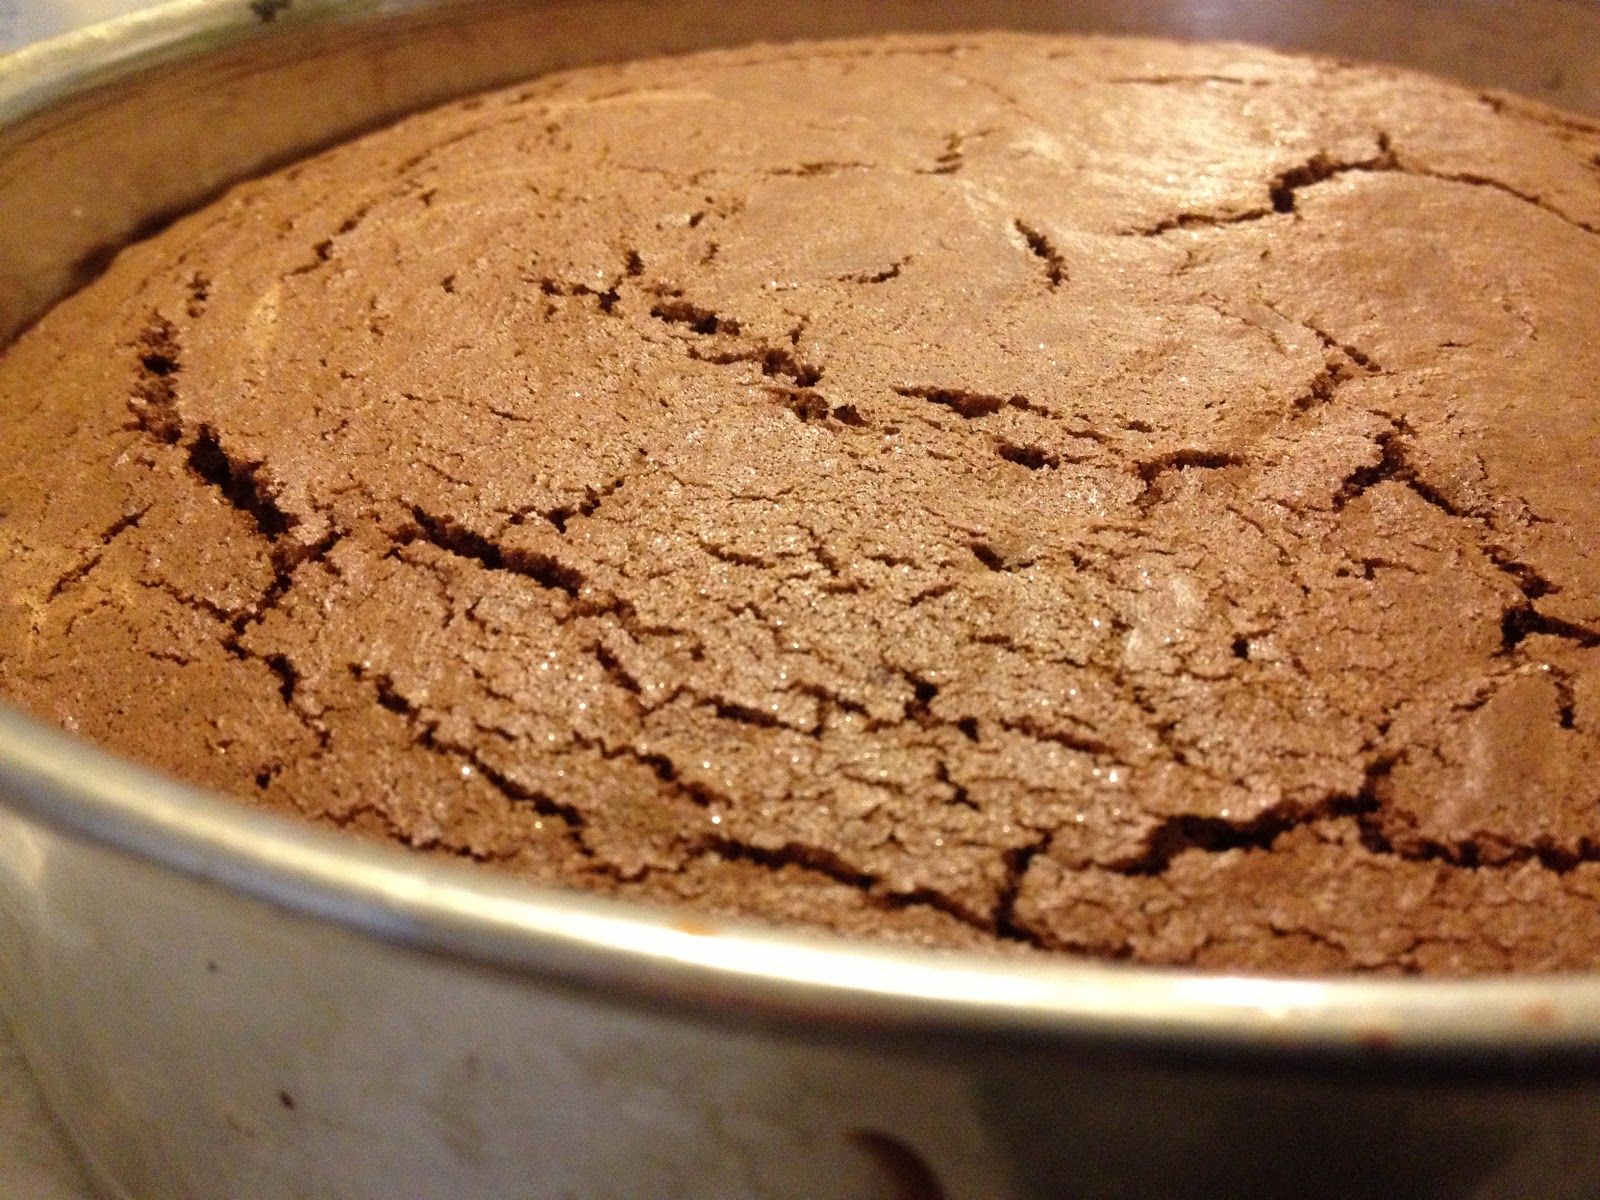
8. Pour the batter into the prepared cake pan, and tap the pan lightly against the countertop to even out the batter. Bake in the oven for 40 minutes, or until the cake starts to shrink from the sides of the pan. Avoid opening the oven door before 35 minutes or the cake might fall. Test towards the end of baking by opening the oven door slightly and, if at a quick glance it does not appear done, close door at once and check again in 5 minutes.
9. Remove from the oven and let cool completely. The cake will sink back to level - this is how it's supposed to be. Put the cake in the freezer an hour before you want to slice and frost it. (This ensures that the crumbs don't crumble as much when you slice the cake in half.)

Tea-infused whipped cream filling
150ml heavy/double cream
30ml (2 tbsp) water
1 tbsp loose-leaf tea leaves (I used 鐵觀音)
10g (2 tsp) icing or granulated sugar
1. Bring the cream and water to a boil over medium heat in a saucepan. Once it reaches the boil, throw in the tea leaves and remove from the stove immediately. Cover the saucepan with lid and let the tea steep in the cream for at least 2 hours.
2. Pass the cream through a fine-mesh strainer to remove the tea leaves, pressing hard on the leaves to extract all the tea juices. Chill in the fridge till ready to whip.
3. Just before filling the cake, whip the cream with sugar until it holds a stiff peak.
Milk ganache frosting
200g dark chocolate (70%)
175ml (2/3 cup) whole milk
Tiny pinch of salt
20g unsalted butter, cubed, very soft
1. Put the chocolate, salt and milk in a large glass bowl, and heat on high power in the microwave for 2 minutes. Remove and let stand for another 2 minutes.

2. Use a wire whisk to blend the chocolate and the milk: using circular motions, start off in the centre and gradually enlarge your circles so that you reach the sides of the bowl.

3. Leave till lukewarm (45C) then whisk in the butter till smooth again.

4. Set aside to thicken until it reaches a frosting consistency.

ASSEMBLING THE CAKE
It is useful to have a turntable for slicing and frosting the cake. Start off by removing the cake from the freezer, and place it in the middle of your turntable. Hold a serrated knife horizontally and make a shallow cut halfway up.

Make two parallel vertical cuts so that you know where to align the cake layers later on.

Whip the cream to a stiff peak. Remove the top cake layer, and slather the cream on top of the bottom cake layer. Use an offset spatula to apply the cream eveningly, using your other hand to move the turntable as you go.


Put the top layer back on, and try to align the vertical cuts. Press down lightly on the top layer. If you have time and room, put the filled cake into the freezer for 15 minutes to firm up the cream.

Now onto the frosting. Give the chocolate ganache a light whisk - it should be of a frosting consistency. Drop a huge dollop of frosting on top of the cake. Again, use an offset spatula to cover the entire top surface, moving the turntable with your other hand as you go. (I received a phone call right before frosting the cake, and teh ganache firmed up too much on me... the texture therefore ended up grainier than I would like...)


'Stick' the remaining frosting on the side of the cake. It is handy to have a gadget like this so all you have to do is to hold it against the side of the cake and turn the turntable to smooth the sides.
 |
| I'm not very good with this, as you can see |

 | ||
| I waived a blowtorch over the cake briefly heat up the surface since the frosting was really getting too firm. |
Remove the cake from the turntable and transfer to a roomy cake tin and chill in the fridge until ready to serve. I know you're meant to cut a cardboard round underneath the cake in the first place so that it's easier to transfer the cake later on, but I'm lazy, and I'm content with using on offset spatula and a knife to transfer the cake gingerly.
 |
| Obviously not picture-perfect! |

How did it taste? I really liked both the sponge and the filling, but the ganache frosting seemed too firm in texture for a cake as light as this. I prefer the gossamer lightness of a shiny cocoa glaze which I usually use for a cocoa génoise layer cake: I think I'll return to it next time.

Wow this cake is perfection, good job!!
ReplyDeleteThanks for visiting! Hope you found something useful on this blog!
DeleteHellow sir...
ReplyDeleteI made this recipe with 25 egggs
Recipe was full liquid...
Need help
But testa is great
ReplyDelete